

Running out of storage on your iPhone?
Probably pictures and videos take the maximum space of a normal user’s smartphone whether Android or iOS.
Deleting images:
Now, removing images from the iPhone is always an issue.
Guess, why?
Apple has some policies that prevent users to delete albums, you have backed up your images through a different application like Dropbox, etc.
But, don’t worry. We are here to solve your problem.
We have sorted out the tricks to delete your photos from your Mac or iPhone directly.
Let’s begin with,
1. Importing photos to your Mac:
Picture Capture is an application that accompanies your Mac and plays out a wide range of helpful undertakings, including downloading your photographs from your iPhone too.
You can connect your Mac to your iPhone, to see, download or erase your photographs utilizing Image Capture.
Here are the steps……
- Open Image Capture on your Mac.
- Use USB to connect your iPhone and Mac.
- Click on your device and you’ll be able to see the images on your iPhone.
- Select the images you want to save in your Hard Drive and smash the Import To option.
- Now select the destination folder, you want to save those images and click Import and you’re done!
2. Deleting photos straight from your device:
It’s very simple and easy to trash images straight from your iPhone. Simply choose the images you want to trash from your camera roll selecting individually or dragging your finger through the rows and selecting multiple at once.
A step-by-step process is provided as follows……..
- Open up the Photos application and from the bottom left corner, click Photos.
- Then, click All Photos.
- Now, you’ll find a Select option in the top right corner.
- Click on Select and choose the images you want to delete.
- Now select the trash button at the bottom-right corner and you’re done.
Recovering Images:

1. Recovering Deleted Photos directly from your iPhone
Now, the real problem arises when you mistakenly trash important images you don’t want. But, don’t worry! Apple provides a feature named Deleted album, where the deleted images are saved for 30 days to recover them if somehow your mind changes later and you want to recover them just like Recycle Bin.
Here’s a step-by-step guide to recover your deleted photos from “Recently Deleted Albums”……….
- Launch the Photos Application.
- Select “Recently Deleted Albums”.
- Now tap select from the upper-right corner.
- Now select the photos you want to recover and smash Recover and you’re done!
2. Recovering images using your Mac
If you routinely perform iPhone backups on your PC, your photographs should be backed up, which implies you can recover lost pictures. Since you are recovering your whole iPhone from a backup, the photographs that re-show up on your iPhone are similar ones that were on your iPhone on the day that you backed up.
So first make a point to back up your new photographs elsewhere, on the off chance that you need to save them, before recovering from a past backup.
Now, to recover images from a backup on your computer, simply connect your iPhone with your computer, choose “Restore from this backup” in the summary tab, choose the backup, you want to recover and you’re done.
3. Recovering photos using third-party apps :
Recover Photos Using Third-party Apps
Rescuing your lost photos from iPhone can become extremely difficult if you have not made a backup of them. Due to extremely secure systems, it is a nail-biting job to figure out how you can get those precious memories back.
Is your heart racing? Hold on, as there is a solution.
Some third-party apps can help you get back your pictures and videos. People usually go for it if the images are very precious.
This software is premium. Users pay a high price to use them.
Some third-party applications have free trial periods that allow users to have a glimpse of the work before they invest in the money.
Curious? Let’s find out what those third-party apps are.
Dr.Fone
This application is available both for Windows and Mac computers. The software is free, but it has in-app purchases. Whenever the software detects that you have to recover deleted files from your iPhone memory, it will levy you a charge.
MobiSaver
This app is quite a savior when it comes to recovering priceless photos and videos from your compromised iPhone. This app has a free trial version that gives a sneak-peak into the range of functionalities.
Users who download it can access the free trial version for some time. The free trial lets the user recover only a selected number of deleted photos beyond which the app starts charging.
The best part is that this third-party application can help recover contacts, messages, documents, along with photos.
Recovering From iCloud
iCloud is like a storage repository for Apple devices. It is created with an Apple ID. Files present in the iCloud can be accessed from any computer running on any operating system.
If the photos taken in an iPhone are backed up in iCloud, the same can be restored anytime logging in to iCloud from another device.
But, what if you buy a new iPhone and want to get back your backed up data? You can do that in some easy steps.
- Since it involves a new iPhone or iPad, the user needs to configure it from scratch.
- It starts with the welcome screen, and the user is prompted to join a WiFi network.
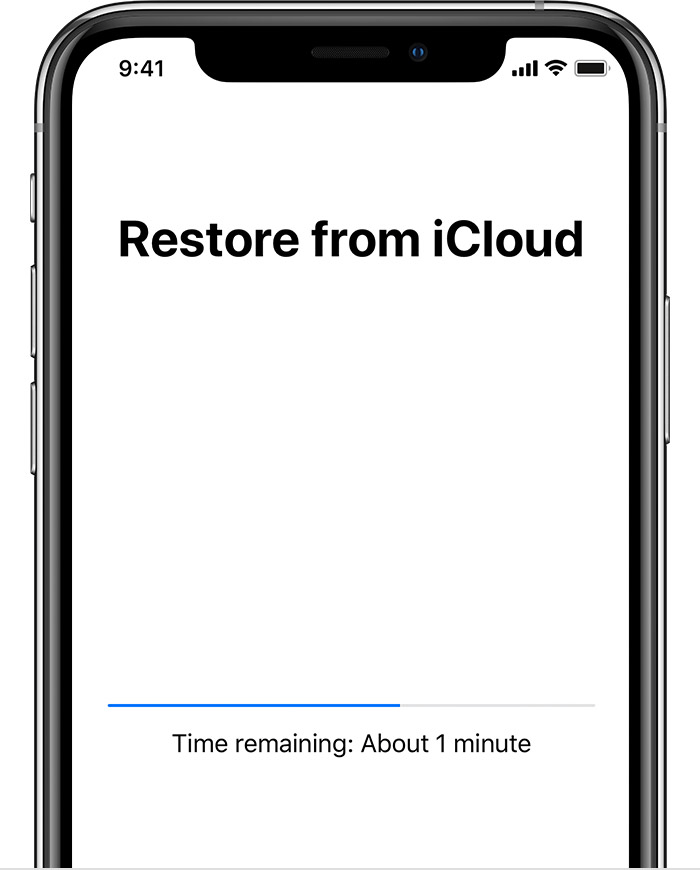
- The Set-Up Device screen shows up, asking the user to restore an iCloud backup.
- When the user goes ahead, he or she can choose different backups that act as savepoints to stored data.
- The user needs to click on the recent backup and restore all media to the device.
- Apple ID and password are necessary to finish the backup and restoration process.
iCloud images can be separately viewed from the Photos App of your Macbook. Since the iCloud account of the iPhone and Macbook are in constant sync with one another, files from the iPhone can be viewed on the Mac.
Conclusion
Unlike other mobile OSs, recovering lost data on iPhone is tough without a backup file. So be wary before you turn off the automatic backup of data to iCloud.
Author Bio:
Name: Jainish Vora
Bio: Jainish Vora is Author at Phoneier. Having experience with 5 years of writing about phones and other gadgets. He loves to explore and write different gadgets from android phones to wearable gadgets.


Leave a Reply